Categories
Dessert Special Ocasion

Coconut Shortbread Cookies

They’re sweet, delicious, gluten free and easy to make. You basically need only 3 ingredients: flour, fat and sugar and no raising agent. That’s what shortbread cookies are, a simple dough that doesn’t develop the gluten, so they’re perfect for gluten free flours. And who doesn’t like that biscuit texture?

🥥2 cups oat flour
🥥1/2 cup raw sugar
🥥1/2 cup coconut butter, warmed up
🥥1/2 cup + 1 tbsp coconut cream (the thick part from canned full fat coconut milk)
🥥1/2 tsp salt

🥥1/2 cup coconut butter or cream to decorate (optional)
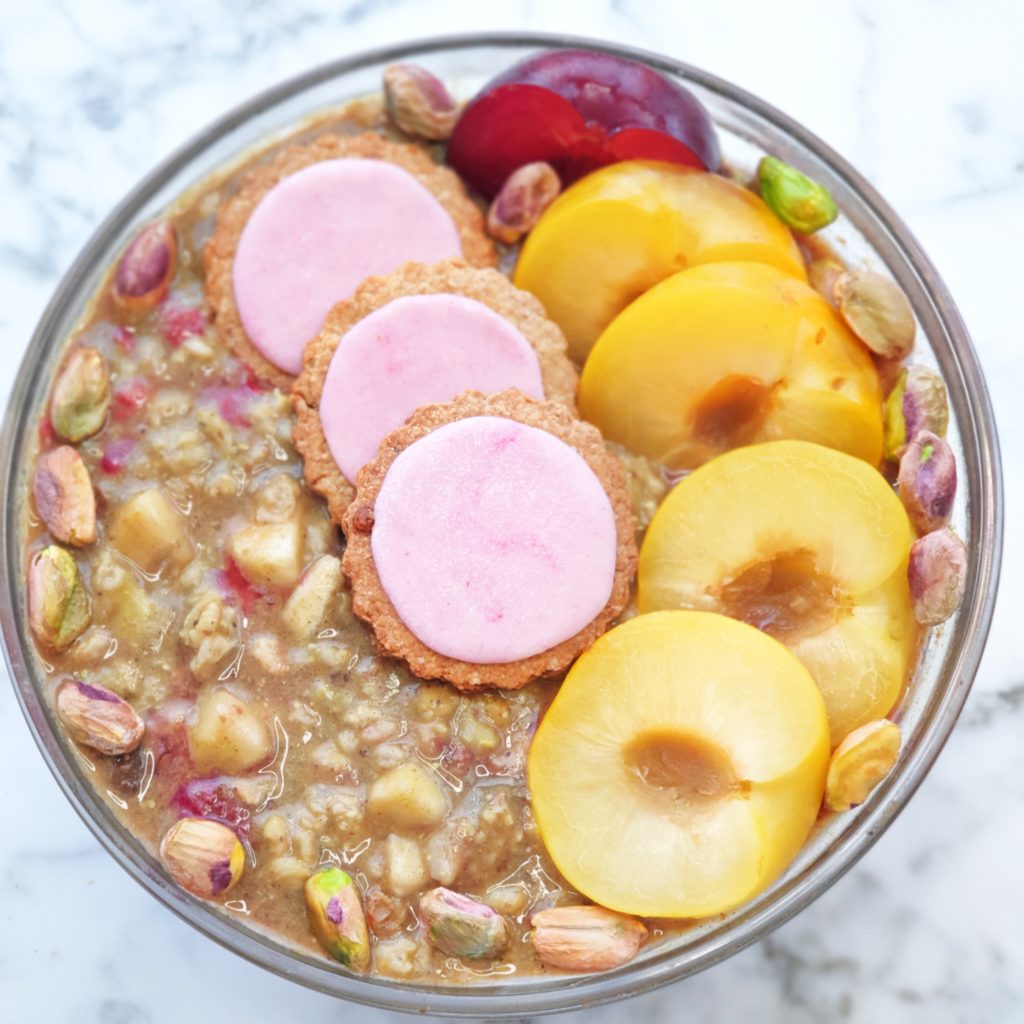
They go well with tea, coffee or on top of an oatmeal bowl is my preferred way.
  1. Preheat the oven at 160°C / 325°F.
  2. Mix the dry ingredients into a bowl. Fold in the rest with your hands. The texture should be crumbly, but the dough should clump when pressed together.
  3. Spread the dough in batches on top of parchment paper switching between pressing with your hands and using an oiled rolling pin.
  4. Regularly fix and patch the edges by pressing them until you get the desired even thickness (under 1cm or 1/2in). Cut the cookies.
  5. Bake for 15 minutes and turn the tray halfway in.
  6. Decorate with coconut butter/cream or icing sugar. They are delicious plain too.
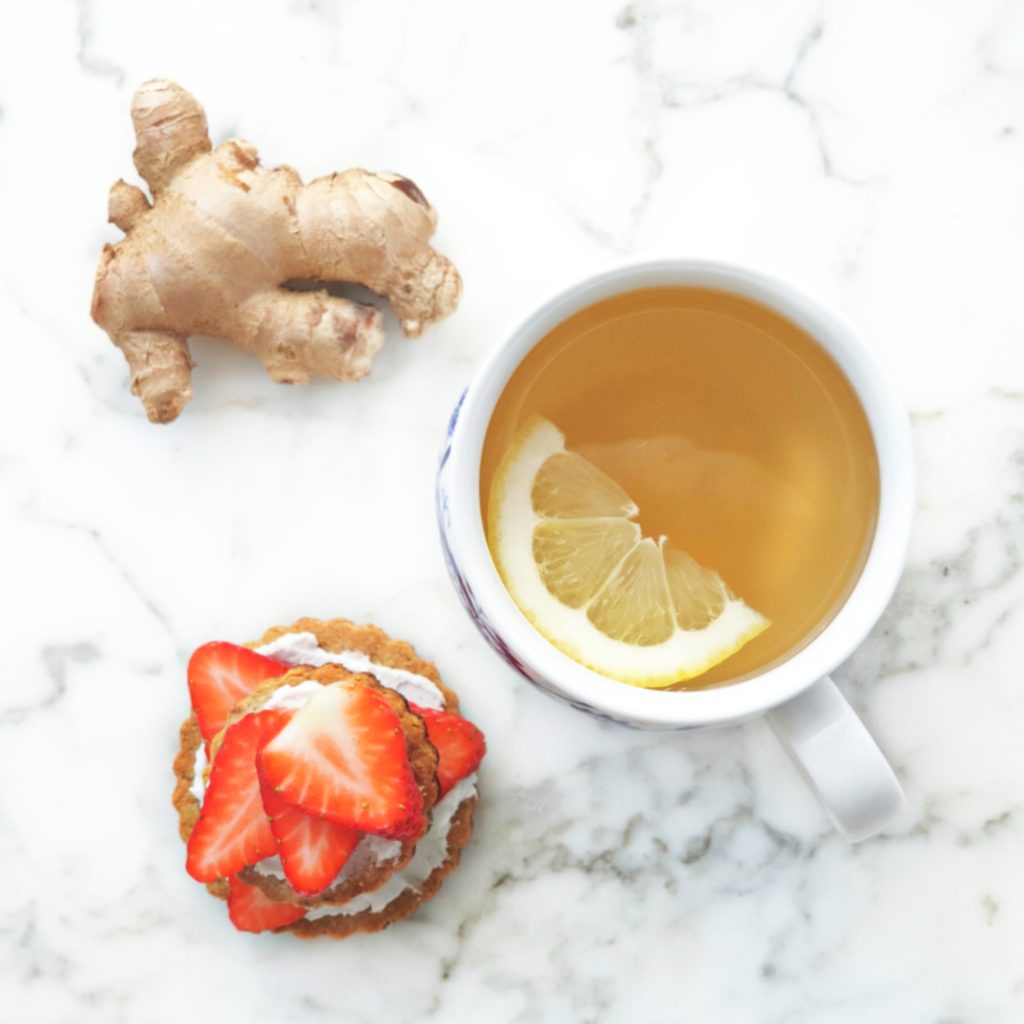
  7. Enjoy with coffee, tea or on top of an oatmeal bowl.

*You can replace the coconut butter and cream with another butter, but you might need more or less depending on how runny it is. Experiment.

*The dough is delicious raw and it can be used as base for raw homemade muesli bars or energy balls.

*They can last a long time in a paper towel lined container in the cupboard. I’ve had some sitting for a month and they were still good, but the longer they sit, the softer they become. I’ve stored this batch in the fridge for a week.
Categories
Dessert

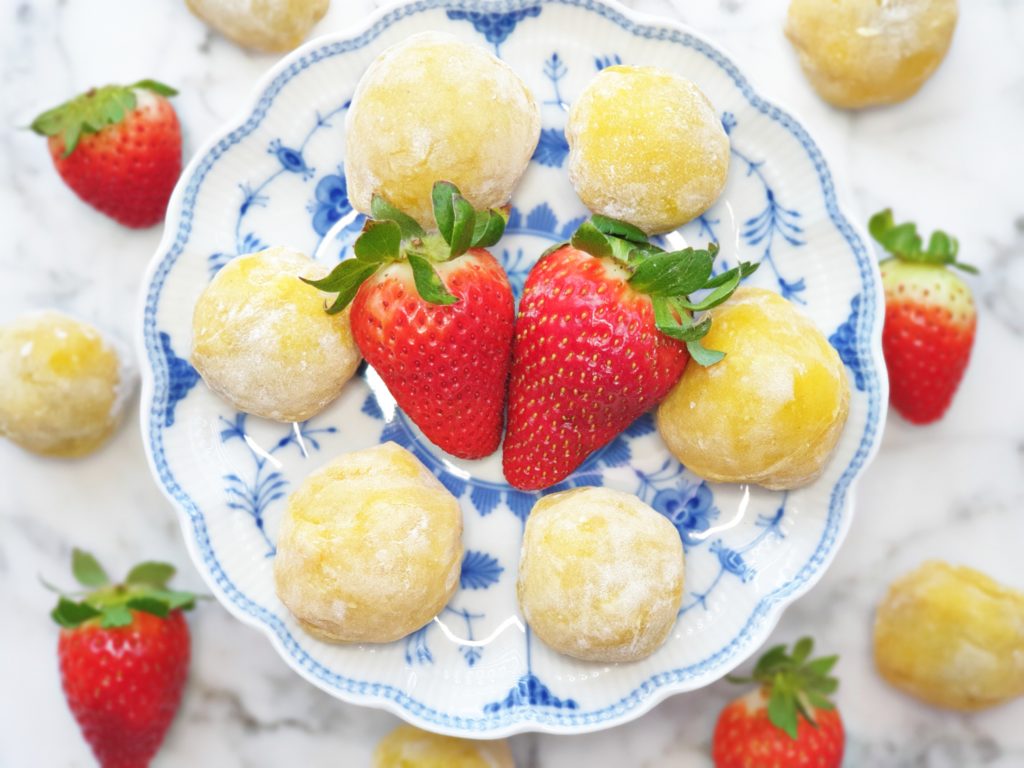
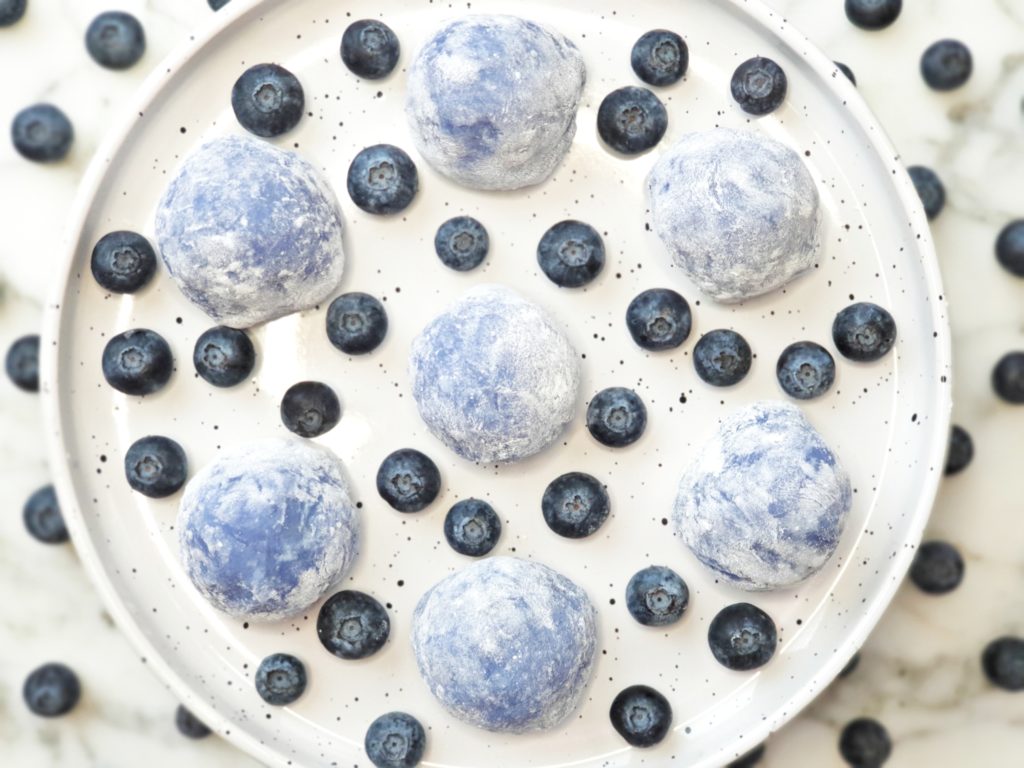
Daifuku Mochi

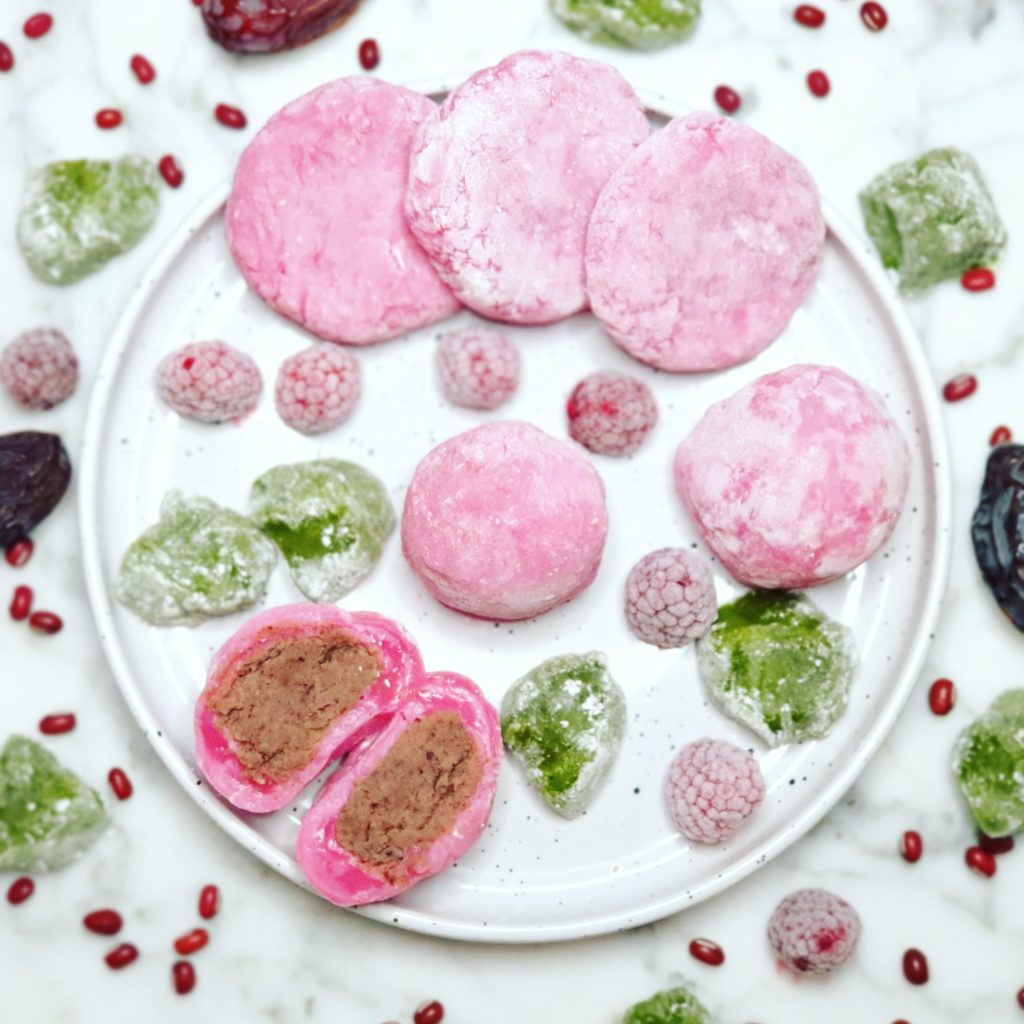
Sweet rice cakes with Azuki bean filling

I love mochi. It’s so easy to make too. You just need the right flour, but it’s easy to find on Amazon or at an Asian grocery store. So give it a try!

Red Bean Paste
🌱65g Azuki beans
🌱1/4 cup dates (50g)
🌱1/4 cup soy milk or liquid
🌱4 tbsp coconut butter*

Mochi
🌱1 cup glutinous rice flour
🌱1 cup water
🌱1/4 cup white powdered sugar or more
🌱~1 cup starch for handling the mochi

Coloring (optional)
🌱2 tbsp beet juice (squeezed from grated beet) for pink OR
🌱1/4 tsp turmeric powder for yelloe OR
🌱1/2 tsp spirulina powder for green OR
🌱1/2 tsp blue pea flower tea powder for blue

  1. Cook the beans and then blend with the rest of the ingredients. Use more liquid if necessary, but eliminate it afterwards by heating the paste in the microwave. It should be easy to form balls with little of it sticking to fingers.
  2. Roll the paste into balls using a measuring spoon to have them all the same size.
  3. Place them on a plate without touching and freeze them. It’s more convenient if you make them the day before.
  4. Take the bean balls out of the freezer, then start preparing the mochi.
  5. In a glass bowl that you can cover, whisk all the ingredients except the starch + coloring, if you’re using any. I used 2 small glass containers, one flipped on top of the other so that not much moisture could escape.
  6. With the bowl covered, heat for 2 minutes and mix with a spoon.
  7. Heat again in 30 seconds stages, checking and mixing between each. If you’re using coloring, it will be easier to distinguish if there are uncooked areas. It should take anywhere between 2.5 and 4 minutes, depending on the microwave. Mine cooked it fast. If it’s a thick sticky mass that holds together, it’s done.
  8. Dust the work surface and utensils with starch and dump the mochi while hot.
  9. Cut the mochi in equal parts depending on your filling size and close it around it. For balls 1 tbsp in size, I divided the mochi in 16 pieces.
  10. Flatten the mochi with starch covered hands, place the beans and pinch it shut. Have more starch on hand. Starched silicone mats work well as a work surface.

*Plain mochi taste just as good, but you might like to add a bit more sugar.
*I don’t recommend doubling up the recipe for the mochi. It’s better to cook one batch at a time.
*You can make coconut butter by blending coconut flakes.

Categories
Dessert Recipes

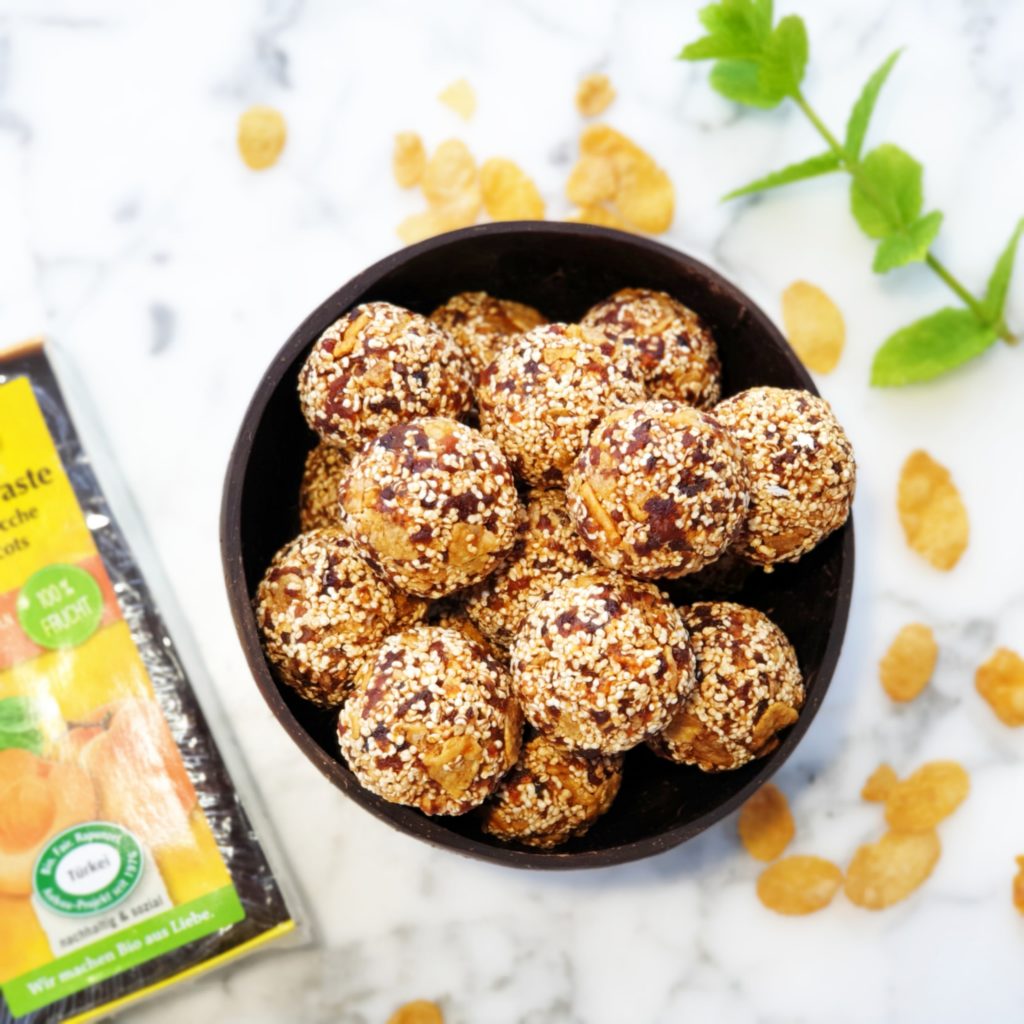
Apricot & Mint Energy Bites

Power balls are my go-to pre run nutrition, so I keep experimenting with the flavors. It’s good to use something else than dates for a change. Give them a try.

Ingredients
🌱250g apricot paste
🌱2 cups amaranth pops
🌱1 cup corn flakes
🌱1 drop peppermint extract

You can make apricot paste from dried apricots in a food processor and then mix and massage everything by hand.

Don’t add more than a drop of peppermint, it will be too overpowering.

This batch makes about 18 balls 2 tbsp in size. Store in the freezer.

Categories
Dessert Recipes

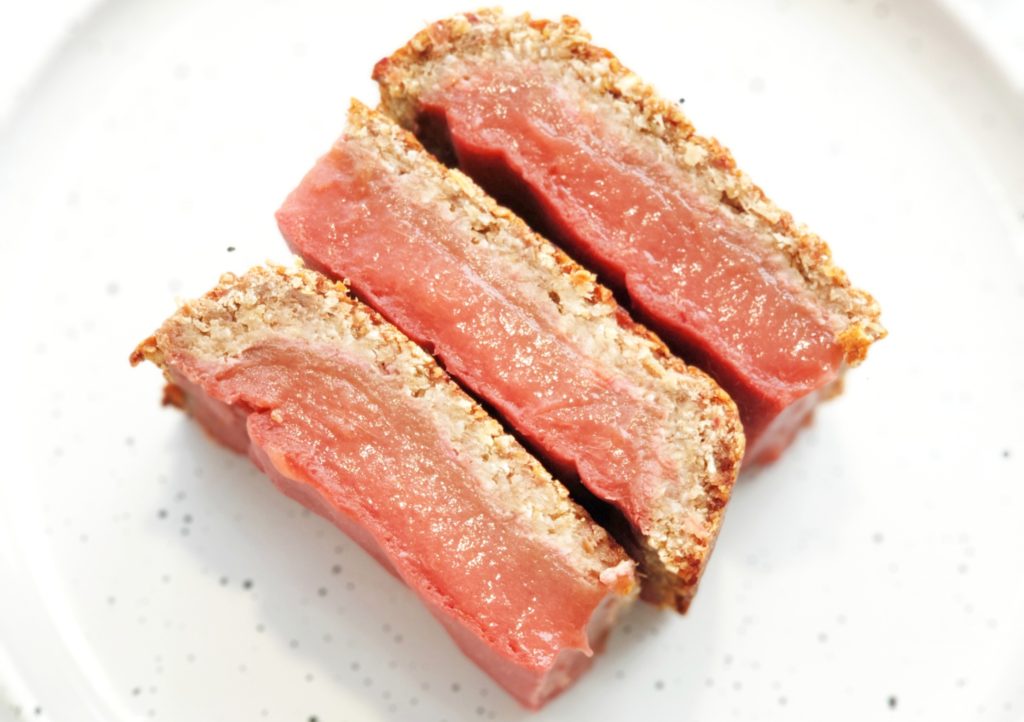
Rhubarb Pie & Jam

This rhubarb pie is delicious, simple and gluten free with lots of whole foods and fiber rich ingredients. Too bad that rhubarb season is over, but you might still find some in the frozen section. I know I’ll look until is back in season.

Rhubarb layer
🌱1 rhubarb jam batch*
🌱4 tbsp starch
🌱4 tbsp water

Crust
🌱2 cups quick oats
🌱1 cup date paste/processed dates
🌱1/2 cup coconut flakes
🌱2 tbsp nut butter
🌱1 banana

  1. Preheat the oven to 180°C/350°F.
  2. Mix the starch and water and add them to the jam while still on the stove. Cook for a few minutes until it starts to thicken.
  3. Mix all the crust ingredients and spread and press the mixture into a baking dish.
  4. Pour the jam and bake for 25 minutes.
  5. Allow to completely cool. It will thicken even more in the fridge.

If you double the crust recipe, you can make a crumble pie, as you see in the last photos. Just make small clumps and sprinkle them on top for extra goodness.

*Rhubarb Jam Ingredients
🌱450g rhubarb
🌱1 jar/360g pure apple sauce
🌱1 cup water

  1. Chop the rhubarb in 2cm/1in pieces.
  2. Add it to a pot together with the water and simmer while stirring until half of the rhubarb dissolves. You could go on, but it will start sticking to the pot.
  3. Mix in the apple sauce and remove from heat after 1-2 minutes.
  4. Use an immersion blender for an even texture if you wish. I like it both ways.

Jams can be stored for months in sterilized jars. I sterilize mine in the oven and the caps in hot water. Then I pour the hot content in the hot jars and seal the caps. You can use this method for anything.